 how-to
How to Use Face Oil for Glowing Skin: 7 Easy Steps
Table of Contents
- What Face Oil Does for Glowing Skin (and What It Can't Do)
- How Much Face Oil to Use (and How to Warm It)
- Face Oil Application Order: Where It Fits in Your Routine
- Step-by-Step: How to Apply Face Oil for a Radiant Finish
- Facial Massage with Face Oil: Lymphatic Drainage for Glow
- Best Anti Aging Oils for Face: What to Look For
- Seasonal Adjustments and Troubleshooting Breakouts
- Conclusion: Your Path to Naturally Glowing Skin
- Frequently Asked Questions
Last Updated: October 3, 2026
What Face Oil Does for Glowing Skin (and What It Can't Do)
Face oil is a blend of plant-derived oils that seals moisture into your skin and gives it a soft, lit-from-within finish. Learning how to use face oil for glowing skin comes down to one idea: oil holds water in, it does not add water.
Here is the honest part most guides skip. Oil cannot hydrate. Hydration means water, and water comes from serums and moisturizers. Oil traps that water so your skin stays plump and bright instead of tight and dull.
The lipid barrier connection
Your skin barrier is a wall of lipids, or fats, that keeps water in and irritants out.
Plant oils rich in fatty acids top up those lipids. The result is smoother texture and a healthy sheen. Think of oil as mortar between the bricks, not a replacement for the bricks.
American Academy of Dermatology guidance on moisturizing notes that moisturizing helps your skin look its best and can reduce the look of fine lines.
How Much Face Oil to Use (and How to Warm It)
Two to four drops is enough for your whole face and neck. More than that sits on top of your skin and can look greasy by midday.
Start with two drops. Add one more if your skin still feels tight after five minutes.
Warming the oil matters more than people think. Cold oil spreads unevenly and pools in patches.
- Drop the oil into your palm, not your fingertips
- Rub your palms together for five to ten seconds
- Feel the oil turn thin and silky
- Press, do not rub, so it absorbs evenly
If your skin is very dry, use three to four drops. For oily or combination skin, two drops pressed in lightly is plenty.
Face Oil Application Order: Where It Fits in Your Routine
Face oil application order follows one rule: thinnest to thickest. Water-based products go first, oil-based products go last.
That order lets each layer absorb before the next one seals it in. Get it backwards and your serum sits on top of the oil, unable to sink in.
Here is the sequence that works for most people:
| Step | Product | Why It Goes Here |
|---|---|---|
| 1 | Cleanser | Removes oil, dirt, and sunscreen |
| 2 | Toner | Preps skin while still damp |
| 3 | Serum | Water-based actives absorb first |
| 4 | Moisturizer | Adds water and light hydration |
| 5 | Face oil | Seals everything underneath |
| 6 | SPF (morning) | Always the final step |
Why the order actually matters (the part most guides skip)
Skincare ingredients absorb according to molecular size and solubility, not brand loyalty or price.
That is why the order is not a preference. If you apply oil first, the film sits between your serum and your skin.
A useful mental model: water-based layers are the delivery truck, oil is the garage door. You want the truck inside before you close the door.
The exception worth knowing
Some oil-soluble actives, retinoids, vitamin E, certain antioxidant blends, are formulated to be applied after water-based steps but before a heavier cream. If a product label specifies its own placement, follow the label. The thinnest-to-thickest rule is the default, not a law.
What about mixing oil into moisturizer?
Mixing one drop of oil into your moisturizer in your palm is fine and is a common shortcut for people who find layering too heavy. The trade-off: you lose the occlusive seal on top, so the glow is softer and shorter-lived. For maximum staying power, layer instead of mix.
Step-by-Step: How to Apply Face Oil for a Radiant Finish
Follow these steps at night, after moisturizer, for skin that looks rested by morning.
- Cleanse and gently pat skin damp
- Apply toner, then serum, then moisturizer
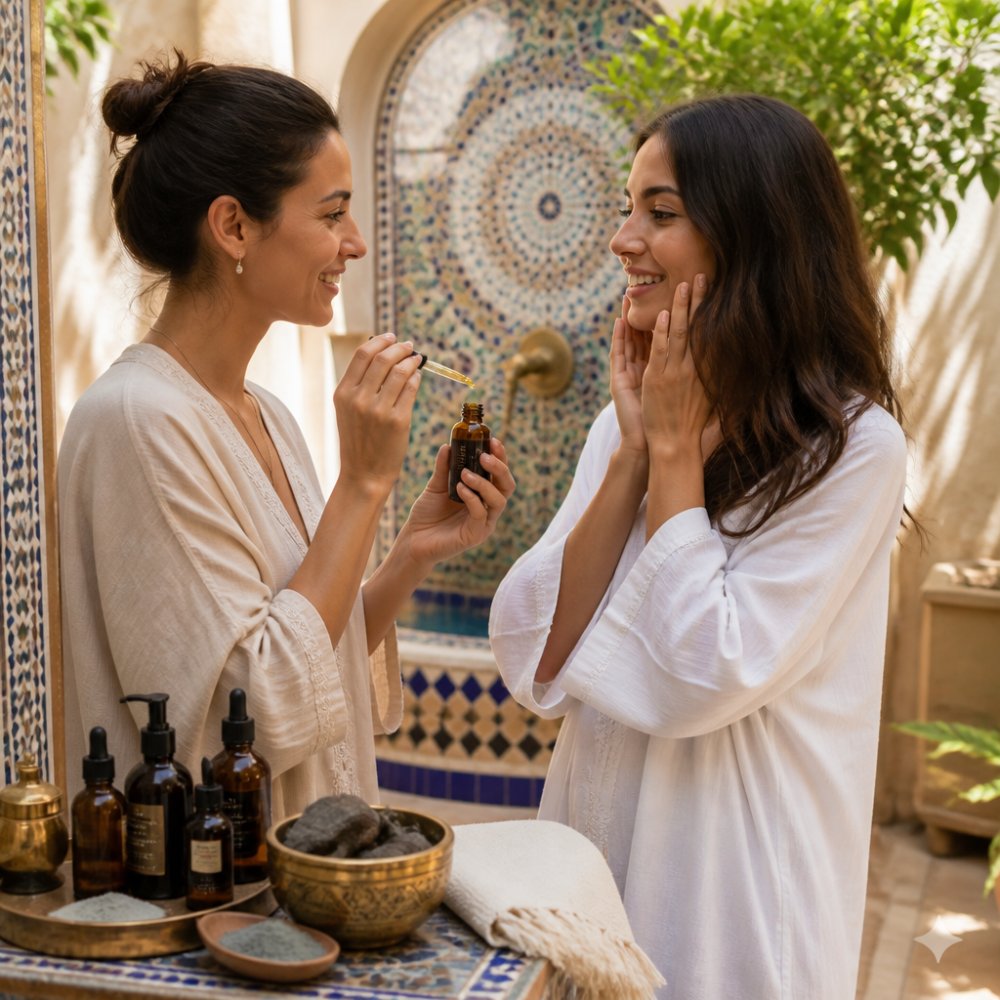
- Warm two to four drops between your palms
- Press the oil into your cheeks, forehead, and chin
- Pat along your jaw and neck, moving upward
- Finish with gentle pressure under your eyes
- Let it settle for five minutes before bed

The patting and pressing technique
Patting beats rubbing every time. Rubbing drags at your skin and pulls at the delicate areas around your eyes.
Press your palms flat against your face and hold for a second. Then lift and move to the next area. This pressing motion pushes the oil into your skin instead of leaving it on the surface.
For a quick boost in the morning, mix one drop of oil into your moisturizer. It adds a soft glow without feeling heavy under makeup.
Facial Massage with Face Oil: Lymphatic Drainage for Glow
Face oil gives your fingers enough slip to massage without tugging. That slip is what makes facial massage possible, and massage is where the real glow lives.
Lymphatic drainage is a light massage that moves fluid toward your lymph nodes. It can reduce puffiness and leave your face looking more sculpted. The lymphatic system does not have a pump like the heart, it relies on movement, which is exactly what your hands provide.
Pressure, pace, and direction
Three rules govern the whole routine:
- Pressure: feather-light. Think of the weight of a nickel resting on your skin, not a kneading motion. Deep pressure pushes fluid the wrong way.
- Direction: always toward the lymph nodes, outward and up along the face, then down the neck to the collarbone.
- Pace: slow. One full sweep takes about three seconds. Rushing defeats the purpose.
A two-minute routine that actually works
Do this after you have pressed your oil in, using the residual slip on your palms and fingers.
- Neck first (30 seconds). With flat fingers, glide from just under your jaw down the sides of your neck to your collarbone. Five slow passes per side. Always clear the neck before working the face, you are moving fluid to a drain, not into a dead end.
- Jawline (20 seconds). Start at the center of your chin, sweep out and up along the jaw to just below your ears. Five passes per side.
- Cheeks (20 seconds). From the corners of your nose, sweep out toward your temples. Five passes per side.
- Under-eyes (20 seconds). Use your ring finger, the weakest finger, and tap or glide from the inner corner out to the temple. Very light. This area is delicate.
- Forehead (20 seconds). From the brow bone, sweep up to the hairline, then out toward the temples. Alternate upward and outward strokes.
- Finish (10 seconds). Three final sweeps down the neck to the collarbone to clear everything you just moved.
Adding a gua sha or roller
A gua sha stone or a cold facial roller can amplify the same routine. Hold the tool at a shallow angle, nearly flat against your skin, and use the same directions and pressure as your fingers. A chilled roller in the morning is especially good for puffiness. Clean the tool after every use with warm soapy water; oil residue traps bacteria.
How often, and what to expect
Three to four nights a week is plenty. Many people notice less puffiness within a few days and a brighter, more even tone within two to three weeks of consistent practice. The effect is cumulative, one massage will not transform your skin, but a month of them will.
Best Anti Aging Oils for Face: What to Look For
The best anti aging oils for face are rich in fatty acids and antioxidants, and they stay stable without heavy processing.
Look for oils high in linoleic and oleic acids, plus natural vitamin E. These support skin elasticity and help defend against daily stressors.
Argan oil is a standout here. It comes from Moroccan argan kernels and is packed with essential fatty acids and antioxidants.
When you shop, check the label:
- Cold-pressed or unrefined where possible
- A short ingredient list with no added fragrance
- Dark glass packaging to protect the oil from light
- A clear harvest or batch date
Seasonal Adjustments and Troubleshooting Breakouts
Your skin needs change with the weather, and your oil routine should change with it. The same three drops that feel perfect in January can feel heavy in July.
In winter, use more oil and layer it over a richer moisturizer. In summer, cut back to one or two drops and press it in lightly. If humidity is high, you may only need oil at night.
When skin gets oily or congested
Oily skin can still use face oil, but the type matters. Reach for lighter oils high in linoleic acid, like argan or rosehip, and skip heavy ones like coconut.
Comedogenic means pore-clogging. Some oils rate higher on that scale than others. If you break out after starting oil, here is how to fix it:
- Pause the oil for a week to reset
- Reintroduce one drop every other night
- Switch to a lighter, non-comedogenic oil
- Avoid applying oil over active breakouts
If congestion continues, Mayo Clinic's overview of acne causes and care is a useful starting point. A dermatologist can help you sort out what your skin actually needs.
Conclusion: Your Path to Naturally Glowing Skin
Glow is not about buying more products. It is about layering them in the right order and using the right amount.
Start with two drops, warm them between your palms, and press them in last. Add facial massage a few nights a week, and adjust with the seasons. That is the whole routine.
Our pure organic argan oil and Moroccan-inspired treatments are built for exactly this.
Frequently Asked Questions
Is it okay to use face oil every day?
Yes, most people can use face oil daily. Start with once a day, usually at night, and adjust based on how your skin responds. If your skin feels balanced and hydrated, you can add a morning application. Those with oily or acne-prone skin may prefer using it every other day or choosing a lighter, non-comedogenic oil to avoid congestion.
Should I use face oil in the morning or at night?
Both work, but each serves a different purpose. A morning application adds a dewy finish and supports the skin barrier before sun exposure. At night, face oil seals in your serum and moisturizer while you sleep. If you use it in the morning, always follow with SPF. Many people find that a nighttime routine with face oil delivers the best glow by morning.
Does face oil go before or after moisturizer?
Face oil goes after moisturizer. The correct face oil application order is: cleanser, toner, serum, moisturizer, then face oil. Moisturizer adds water-based hydration, while oil seals it in. Applying oil first can block lighter products from absorbing. If you prefer a simpler routine, you can mix a few drops of oil into your moisturizer instead.
Can face oil cause breakouts?
It can if you use the wrong oil or too much. Look for non-comedogenic oils that won't clog pores. Oils high in oleic acid, like coconut oil, may trigger breakouts on acne-prone skin. Oils rich in linoleic acid, such as argan or rosehip, are often better tolerated. Start with 2-3 drops and patch-test before applying to your full face.
Most people chase glow with more steps, when the real fix is a smarter order and a lighter hand. Renaissance de Beaute Argan Treatments offers pure organic argan oil, traditional Hammam-inspired essentials, and spa-quality products made for home use. Our argan oil absorbs cleanly, supports skin elasticity, and fits right into the routine above. Get started with Renaissance de Beaute Argan Treatments and give your skin the simple, natural glow it has been missing.